Grow A Tree from an Acorn!

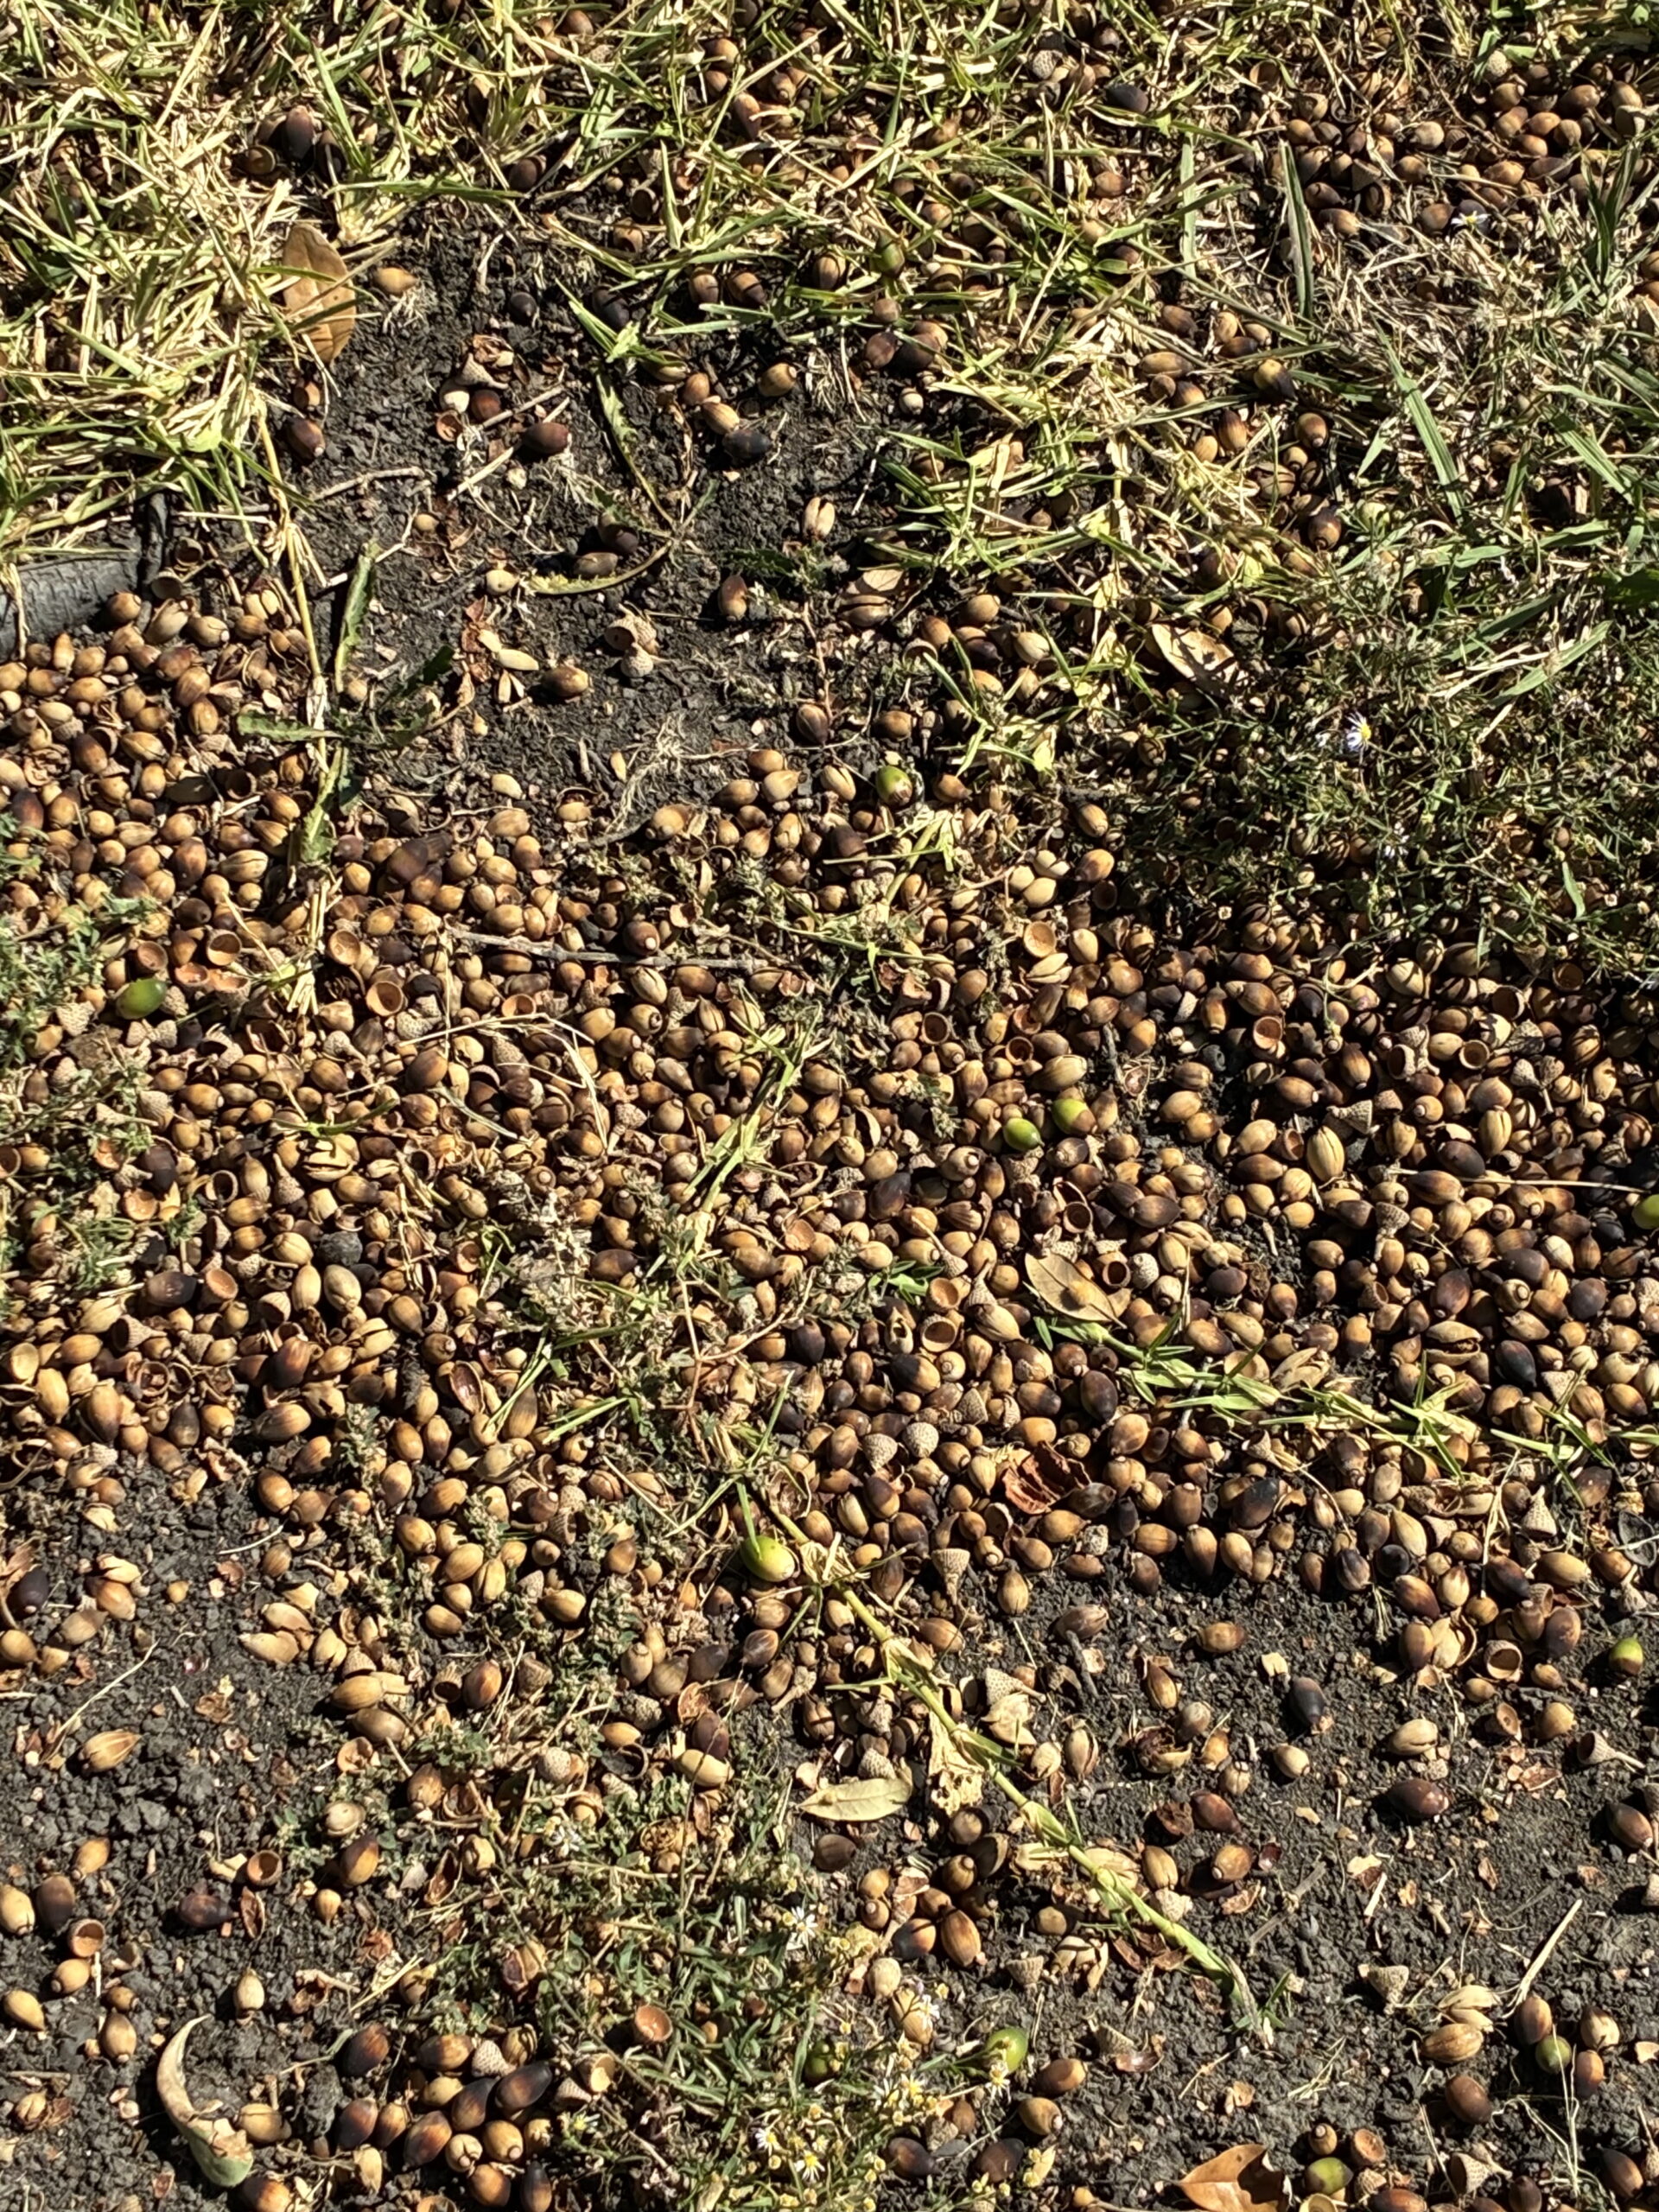
We had a bumper crop of acorns recently. While this is good for squirrels, it also presents a great opportunity for a fun project that can be educational and help our urban forest! Growing your own oak from an acorn and planting it where it is needed is a great, easy way to combat the severe tree loss and damage we had in 2019.
Step One: Find an Acorn
This seems like the easy part, but you have to make sure to find acorns that are still able to germinate and grow.
- Gather several acorns (from different trees, if possible), to improve your chances.
- Avoid acorns that are cracked or have holes in the shell.
- PRO TIP: You may be able to find acorns that have already begun to germinate, as in the Step Two photo. These will give you a head start!
- Once you have a selection of acorns, an easy way to see if they are viable is to soak them in water for 24 hours.
- If the acorns float, they are not going to germinate successfully and should be discarded.


Step Two: Prepare Your Acorn for Planting
While you can plant the acorn right away, taking an extra step can lead to greater success down the road and is a more exciting way to see the early growth stages.
- Take a viable acorn and carefully insert three toothpicks, equally-spaced around the circumference, about half way between the top and bottom of the acorn.
- Set the acorn on the top of a small cup, glass, or jar (clear is best!), balancing the toothpick on the rim.
- Fill the container with water, so that the bottom half of the acorn is submerged.
- Put the acorn and container in a warm, sunny spot (a windowsill works great).
- As the acorn germinates, it will begin sending a large taproot down into the container.
- If you have a clear jar or cup, you can see its progress.
- After the root has grown, the acorn will begin to send up a green shoot from the top.
- PRO TIP: Given enough time, the shoot will put out a few familiarly-shaped leaves!
Acorns can also be germinated in bulk in a bag filled with moist potting soil. Keeping the bag in the refrigerator can help prevent mold growth. Once they have put out roots, they are ready to plant.
Step Three: Planting Your Acorn
Once the acorn has germinated, it is ready to be planted! It is best to start the oak in a pot, so that temperature, light, and moisture level can be easily monitored.
- Use a flower pot or similar container.
- Make sure that there are holes for drainage!
- Fill the container most of the way with regular outdoor soil, leaving an inch or two space at the top.
- For native oaks, it is best to start them in native soil, rather than pure potting soil.
- If you have some compost or potting soil, you can mix this in with the top third of the planting soil.
- If your acorn has germinated, plant it root down, about an inch or so below the top of the soil.
- If there is a shoot already sprouting, be sure not to plant it too deep.
- Keep the pot in direct sun in the morning, but shade in the afternoon.
- Water regularly so that the soil does not dry out.
- Adding a little compost tea or organic fertilizer can help the young tree get extra nutrients.


Step Four: Plant Your Tree Outside!
Once the oak seedling has become established, you can plant it outside to give it room to grow! It is best to plant a new tree in the fall or winter.
- Find a spot where there will plenty of room for the tree to spread its roots and canopy.
- Dig a hole about the same size as the container the seedling was in.
- Unlike planting a larger tree, there should be no root issues requiring a larger hole.
- Remove the entire contents of the container and place in the hole.
- PRO TIP: If you let the soil dry out a little bit, it should pull back from the sides of the container and slide out easily.
- Make sure that the top of the container soil is at ground level; don’t plant it too deep.
- With the leftover soil from digging the hole, you can make a small ring around the tree, about a foot away from the stem.
- You can also put down a some mulch, but make sure not to put any too close to the seedling’s stem.
- Placing a flag nearby will help you remember where the seedling is and keep it from possibly getting mowed down.
- If you are worried about animal activity or other damage, you can use a tomato cage or similar fence to protect your seedling as it grows.
- Once it has grown about 18 inches tall, you can remove the cage.
- Be sure to keep the growing young tree watered and monitor it for signs of insect activity.
- If you have questions about fertilizer or other care, ask a certified arborist.
At Texas Tree Surgeons, we love trees and we love our customers! Growing your own seedling from an acorn is a fun way to learn about trees and is a great way to get free trees for your yard. With a little prep and a little patience, you can soon have your own forest! Also, you can use a similar process to grow other acorn- or nut-producing trees, although oaks (especially red oaks) are often the quickest and easiest to start with. As always, if you have any questions about how to care for your trees, young or old, let us know!
Related Blogs
Similar blogs related to this topic


North Texas Fall Foliage: Why Leaves Change Color
North Texas weather changes as quickly as the mood of a toddler. Oscillating from hot to cold. One thing that clearly denotes autumn in North Texas is the fall foliage. The color shift may not…
Read more

Why Are My Oaks Producing so Many Acorns?
Are you noticing your lawn has a sudden carpet of acorns beneath your feet? If yes, you’re likely experiencing a masting year. In such years, oak trees pull out all the stops to produce an…
Read more

Understanding How Seasonal Changes Effect Tree Health Care
Trees are living organisms that respond to their environment, especially the shifting conditions brought by seasonal change. In North Texas, extreme weather, variable rainfall, and a wide variety of pests and pathogens present year-round challenges.…
Read more
